7 Common Squat Mistakes and How to Fix Them
From changing depth to knees moving inward, here are seven common things to look for in your squat — and practical ways to respond when you spot them.
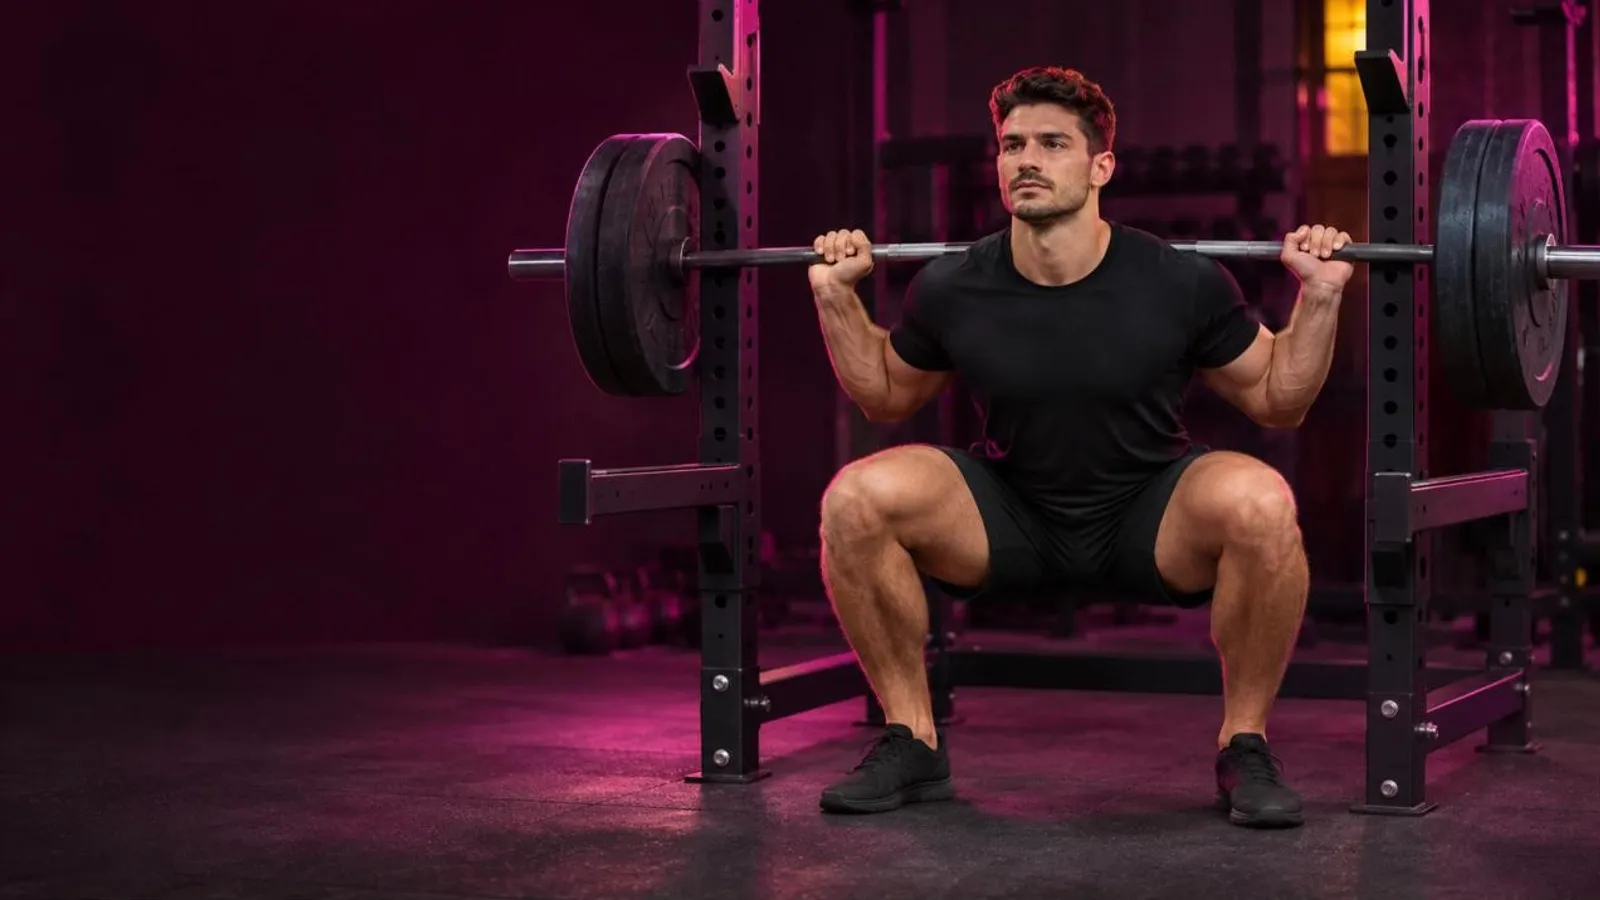
A squat doesn’t need to look perfect to be effective.
Your stance, depth and torso position won’t necessarily look the same as somebody else’s. Your proportions, mobility, experience and the type of squat you’re doing all affect how you move.
But there are changes worth paying attention to — especially when they appear as the weight gets heavier or the set gets harder.
Here are seven common squat mistakes, what they can look like and what you can try next.
1. Your heels lift off the floor
Watch your feet as you descend.
If your heels start lifting, particularly near the bottom of the squat, you’ve lost some of the stable contact you had with the floor.
You may also notice yourself moving onto the front of your feet.
What to check
Before assuming you have a mobility problem, look at the pattern.
Does your heel lift happen:
- On every rep?
- Only when you squat deeper?
- Only with heavier weights?
- On one foot or both?
- With every squat variation?
Also look at your stance and balance.
A video from the side or around 45 degrees can make this easier to see.
What to try
Start with a load you can control and experiment with a comfortable stance.
Think about keeping your foot connected to the floor rather than deliberately forcing all of your weight backwards onto your heels.
If the issue only appears when you chase a deeper position, use a depth you can currently control and work from there.
Don’t immediately diagnose yourself with poor ankle mobility based on one video.
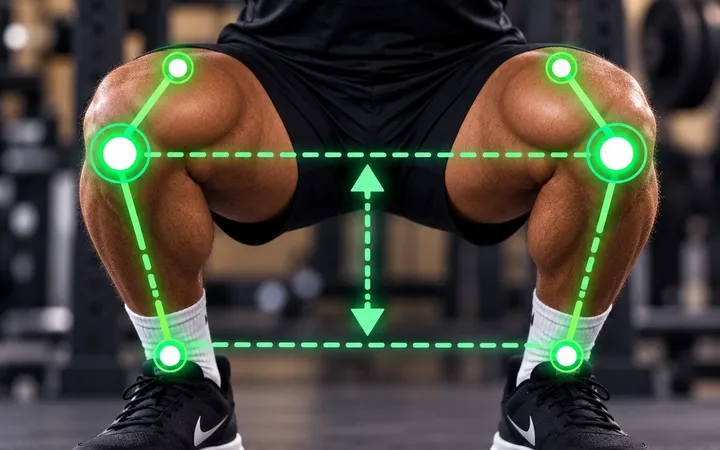
2. Your knees move noticeably inward
Some knee movement during a squat isn’t automatically a problem.
What deserves more attention is a large or increasing inward movement that you aren’t controlling.
You might notice:
- Rep 1: stable
- Rep 2: stable
- Rep 3: slight inward movement
- Rep 4: more noticeable
- Rep 5: significant change
Now you have a pattern.
What to check
Look at when the movement starts.
Does it happen from the first rep?
Or only as the set becomes difficult?
Does increasing the weight make it more pronounced?
Is one side noticeably different from the other?
Also look at your feet and hips rather than watching the knees in isolation.
What to try
If it becomes much more noticeable at heavier loads, reduce the weight slightly and compare.
You can also experiment with small changes to your stance if your current position feels awkward.
Avoid thinking:
“Knees in = bad, knees out = good.”
The goal isn’t to force your knees as far outward as possible.
You’re looking for a position you can control.
Go deeper: Why Do Your Knees Cave In When You Squat?
3. Your depth changes from rep to rep
Your first squat reaches a comfortable depth.
Your second does too.
By rep six, you’re several centimetres higher.
By rep eight, the movement is noticeably shorter.
This is easy to miss while you’re training because every rep still gets counted.
What to check
Compare your first and final repetitions.
If your depth gradually decreases, ask what else changed.
Did the set become very difficult?
Did you speed up?
Did your balance change?
Is the load heavier than you’re accustomed to?
What to try
Choose the range of motion you’re trying to train and make consistency part of the goal.
If necessary, reduce the weight until you can repeat that depth across the set.
Then progress from there.
Increasing the weight while continually reducing the range of motion can make your training log look better without necessarily improving the movement you intended to train.
Go deeper: How Deep Should You Squat?
4. You drop into the bottom
A squat doesn’t need to be slow.
But there’s a difference between descending quickly under control and simply falling into the bottom position.
If you’re dropping faster as the set continues, you may be losing control of the descent.
What to check
Watch the video at normal speed first.
Does your descent have a reasonably consistent rhythm?
Or do your later reps suddenly become much faster?
Ask yourself:
Could I slow or stop the movement if I needed to?
What to try
Use a load that allows you to make the descent intentional.
You don’t necessarily need an exaggerated three- or five-second squat.
Simply avoid letting the weight determine the entire speed of the movement.
Control first.
Then stand up with intent.
5. Your hips shift to one side
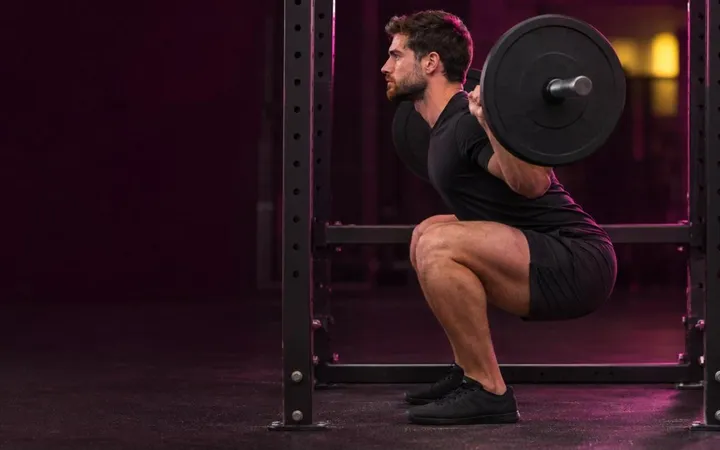
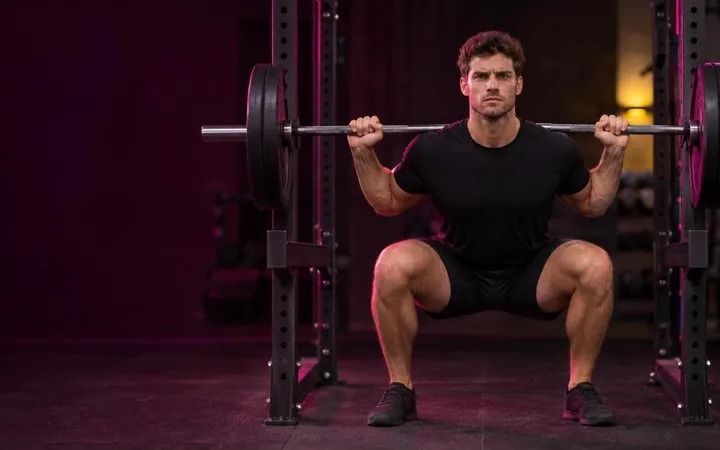
Watch from the front or rear and look at your hips as you descend and stand up.
A small amount of asymmetry is normal.
You’re not a perfectly symmetrical machine.
But an obvious shift towards one side — particularly if it becomes larger as the set continues — is worth noticing.
What to check
Look beyond the hips.
Does one foot move differently?
Does one knee move more?
Does the shift appear only when the weight becomes heavy?
Does it happen on every repetition or only towards the end?
A single frame won’t tell you much.
Look for a repeatable pattern.
What to try
Reduce the load and see whether the shift remains.
Check that your stance is comfortable and that you’re not unintentionally starting with more weight on one side.
If you consistently experience a pronounced asymmetry, particularly with pain or discomfort, consider getting it assessed by an appropriately qualified professional rather than trying to diagnose the cause yourself.
6. Your torso position changes dramatically
Your torso is allowed to lean forward when you squat.
In fact, some forward lean is normal.
How much depends on your proportions, stance, load and the squat variation you’re performing.
The mistake isn’t simply:
“leaning forward.”
What we’re more interested in is a large, uncontrolled change.
For example, you reach the bottom with one torso angle, then your hips rise rapidly while your chest stays behind.
The rep suddenly looks very different from the ones before it.
What to check
Compare early and late reps.
Does your torso remain reasonably consistent?
Does it change only as the set becomes difficult?
Does a heavier load make the change much larger?
What to try
Don’t force yourself to stay perfectly upright.
Instead, use a load that allows you to maintain the squat you’re intending to perform.
If the movement repeatedly changes dramatically under a particular weight, reducing that weight and rebuilding may give you more useful training.
7. You’re adding weight faster than you can control it
This mistake can create several of the others.
You squat 70 kg successfully.
Next time you try 80 kg.
Then 90 kg.
The number is progressing quickly.
But your squat is changing with it.
Your depth becomes shorter.
Your knees move differently.
Your balance changes.
Your final reps become increasingly difficult to control.
You’ve added weight.
But have you progressed the squat?
What to check
Compare videos from different loads if you have them.
Ask:
What changed when the weight increased?
If the answer is:
“Nothing significant — the reps are simply harder,”
that’s very different from:
“The whole movement changed.”
What to try
Make smaller increases.
There’s nothing unimpressive about adding 2.5 kg.
You don’t get extra progress for making the largest possible jump between workouts.
Use the smallest practical increase and see how your movement responds. Adding reps at the same weight first is another form of progressive overload.
Go deeper: How to Know When You’re Ready to Increase the Weight · When Should You Reduce the Weight You’re Lifting?
Don’t try to fix everything at once
You watch your squat and notice:
- Your depth changes
- Your knees move slightly inward
- Your descent gets faster
- Your torso position changes
So next session you try four new cues simultaneously.
Now you’re thinking about your feet, knees, hips, chest and breathing while there’s a loaded bar on your back.
That’s unlikely to make things simpler.
Choose the most meaningful change.
Work on that first.
For example:
Problem: Later reps become noticeably shallow.
Next session: Keep the weight the same and focus on maintaining your intended depth.
Then reassess.
One useful adjustment is better than six cues you can’t follow.
Don’t judge your squat from one screenshot
A frozen image can make almost any exercise look strange.
Squatting is movement.
Watch the movement.
More importantly, watch several repetitions.
A knee moving slightly inward for a moment tells you less than seeing that the inward movement becomes progressively larger across the final four reps.
A single deep squat tells you less than seeing whether you maintain that depth across the set.
Patterns matter.
Record from a useful angle
If you want to check your squat, place your phone somewhere stable and keep your whole body visible.
A side view is useful for looking at things such as depth and torso movement.
A front view can make side-to-side movement easier to see.
A 45-degree view gives you a useful general picture of several parts of the squat at once.
You don’t need to film every set.
Record enough to answer the question you’re trying to investigate.
Go deeper: How to Record Yourself Lifting to Check Your Form
Form can change as you get tired
This is why looking at the whole set matters.
Imagine an eight-rep squat:
- Reps 1–5: controlled and consistent.
- Rep 6: descent speeds up.
- Rep 7: depth decreases.
- Rep 8: knees move inward and the rep becomes significantly slower.
It wouldn’t be particularly useful to label the entire set simply:
Good form
or:
Bad form
The more useful observation is:
Your movement stayed consistent until fatigue increased, then several things started changing.
Now you have something to act on.
Maybe you keep the weight the same next session.
Maybe you stop the set slightly earlier.
Maybe you reduce the load.
The video has helped you make a training decision.
Not every difference is a mistake
There isn’t one perfect squat.
Someone with long thighs may squat with more forward torso lean than someone with different proportions.
One person may prefer a wider stance.
Another may squat comfortably with their feet closer together.
Some people comfortably squat well below parallel.
Others use a different depth for a particular exercise or goal.
Don’t compare your squat to an idealised model and assume every difference is an error.
Compare your reps with your reps.
Look for meaningful changes.
When should you get professional help?
Video can help you see what your movement is doing.
It can’t diagnose an injury.
If you’re experiencing:
- Pain
- Swelling
- Instability
- Persistent discomfort
- A recent injury
- Symptoms that are worsening
don’t try to diagnose the cause from your squat video or an AI form checker.
Speak to an appropriately qualified healthcare professional.
A better way to think about squat form
Instead of asking:
“Is my squat perfect?”
ask:
“Is my squat controlled, repeatable and appropriate for what I’m trying to do?”
Then look at what happens as the set progresses.
Do your feet remain stable?
Does your depth stay consistent?
How do your knees move?
Does your torso position suddenly change?
Are your final reps still recognisably the same exercise as your first?
That’s the information that helps you decide what to work on next. For the full checklist, see Squat Form: 7 Things to Check on Every Rep.
Don’t just check one rep
The useful information often appears when you compare the whole set.
On supported lifts, including the bodyweight squat, Trayner Form Check analyses your recorded exercise across your reps, helping you see where your movement stays consistent and where it starts to change.
So instead of leaving with “my squat looked bad”, you have something specific to pay attention to next time.